Installing a window screen is one of the simplest home improvement projects. But, these kinds of window screens can be challenging to install. They often need specialized tools and some knowledge to get them up correctly.
It can be expensive, but there are a few ways to get around the cost. This post will teach you how to install a window screen without framing. But first, let’s identify each one.
Installing a window screen without a frame requires the necessary steps:
- First, measure your window.
- Then cut the metal strips and glue them to the window hole.
- Next is to assemble the screen by joining the corner pieces and cutting the magnetic strips.
- Then insert the screen into the frame.
- Next, push the magnetic strips into the plastic frame and flatten the screen.
- Finally, frame the screen and magnetize it to the wall’s metal strips.
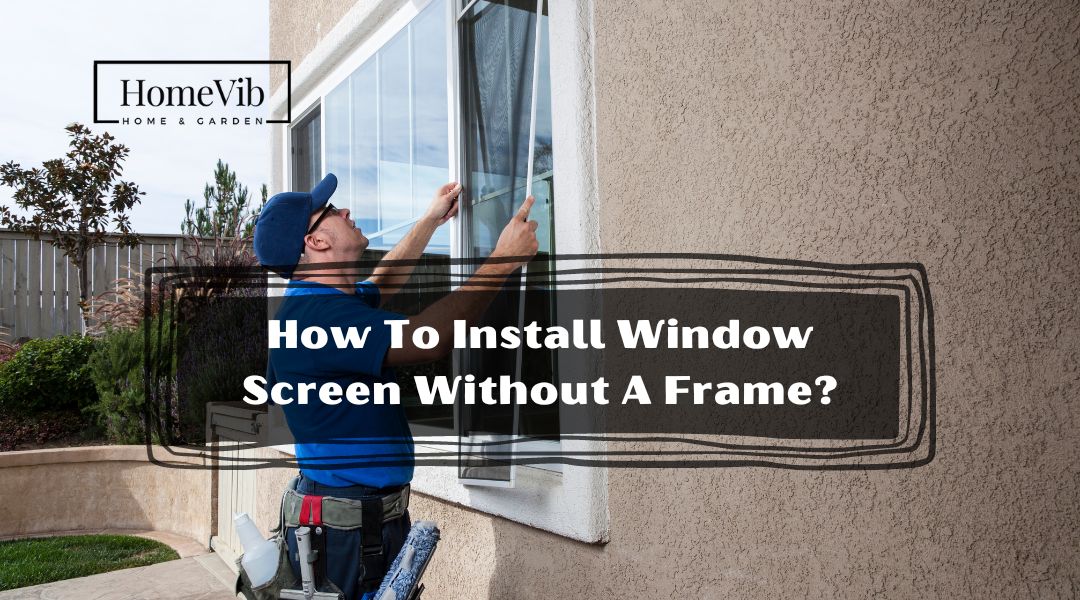
How To Install Window Screen Without A Frame?
To successfully install windows, follow these instructions in order.
Step 1: Measure Your Window.

First, measure the width of the opening into which you will place the screen. Measure jamb to jamb, from one side of the window to the other. Measure the width of the opening three times: at the top, the bottom, and the center.
Consider the thickness of the corner pieces, which can add another two millimeters. The entire thickness shouldn’t be greater than the thickness of your opening.
If all three numbers are the same, you know the window size you need to order. If the three measures don’t add up to the total, order a window fitting the smallest opening.
Step 2: Cut The Metal Strips And Glue Them To The Window Hole.
Take out the old sash. Scrape the current paint all the way around. Focus on the window stop beads that meet the window trim with a utility knife.
Next, you’ll need to cut them to size and install them in your window opening. Since you will use them to prop up the screen, they must be the correct size before installation.
Step 3: Assemble the Screen By Joining the Corner Pieces.

Wrap the cables around the corner pieces. You must insert the cords quickly and easily into the hole of a corner piece by using a fishing wire.
Insert one end of the fishing wire into the hole, and then thread the wire through the cord. You need a hole big enough for the cable to fit through.
Thanks to the cord, you can expect a more secure fit between the two corners of the frame.
Step 4: Cut Away Any Extra Screen Material.

Window screen installation necessitates the use of a spline tool. This tool includes a concave roller wheel at one end and a convex roller wheel joined by a handle in the middle.
Homeowners use this tool to force the spline coding into the screen frame. It will remain fastened, and the screen will remain stretched over the frame opening. Then, using a knife, glide around the outer border of the frame to cut away any extra screen material. In this way, it leaves a clean, uniform edge.
Using the corner pieces of the frame, assemble the plastic picture frames. After making any adjustments as you press the magnetic strips, trim them to size.
Step 5: Insert the Screen Into the Frame.

Measure down from the top of your screen and mark both sides of the frame. This will show where the center bar will be if your screen has one.
Place the central bar (spline side up) in its designated location. Pull the edges of the frame firmly against the center bar and measure.
Then secure the screen to the frame once it has become sufficiently firm. If you’re having trouble trimming it to size, set it aside and return to it.
When doing the preliminary cut, leave a little extra room so that the next processes are less hassle.
Step 6: Insert the Magnetic Strips Into the Frame.
Put the screen between the magnetic strips and attach them to the plastic frame. To ensure that the magnetic strips can cut everything to size, you’ll need some extra space on the screen.
Carefully insert a center bar clip, leave the clip’s end exposed, and lift up one end of the center bar. The clip on the middle bar will become wedged if you push it in.
To reassemble, place the center bar back on the table so the clip at its end is over the frame in the spline groove.
Step 7: Remove Excess Tension From the Sides And Smooth the Screen.
You should push the spline and the screen material into the groove using the screen rolling tool. Follow the curved borders of the window. Then take the spline out and re-rolled if any wrinkles or bulges emerge.
As you round the corner back to the beginning, you may expect any little wrinkles to smooth out.
When mounting the screen to the window, check to see that it is flush with the surface. This is to avoid humps. If the screen is too short and there isn’t enough space around it, the tension on the sides will rise.
Step 8: Frame the Screen.
Once you fit everything correctly, you may cut the screen to suit the frame. You can make a cleaner cut using the magnetic strip as a ruler.
Hardware kits are available for installing window screens. These may help you take down the screens and clean them from time to time.
Step 9: Magnetize the Screen To the Wall’s Metal Strips.
Now that your screen is ready, you may secure it to your window frame.
Make sure the screen is in place in front of the window. You’ll hear the magnets click into place, securing the screen.
Take care that the screen never curves. You can achieve this by fitting the edge over the aperture and adjusting the size.
Once built, screens are permanent and require no further installation or removal.
Benefits of Installing Window Screens

Everybody knows placing screens on their windows is a terrific way to feel safer. They prevent intruders who may have gone to the property to scope out its weak points.
You may have peace of mind knowing that your windows are secure when you install screens. No one passing by will be able to see inside your home, thanks to the angle and thickness of the mesh.
Additionally, window screens add to the home’s aesthetic value, as bizarre as it may sound. Simply said, they serve as a decorative accent that improves the overall look of your home.
They let in a natural breeze and reduce the need for artificial light and climate control. It’s crucial to have window screens to prevent the spread of disease-causing flies.
Additional benefits to highlight:
- Keep the bugs away
- Protect us from sickness
- Has curb appeal
- Act as a dirt splash
- It keeps water from getting in
What Holds Window Screen In Place?
Spring plungers are metal tabs that hold the screen in place.
Plunger bolts are another name for spring plungers. A spring plunger’s metal tab fits into a hole in the window casing to keep the screen in place.
They come in both metric and standard sizes and serve to lock and then locate individual parts. These use spring pressure to keep the ball or nose in place. Spring plunger bolts secure window screens to last a lifetime in all types of weather.
A die-cast metal plunger, filled with spring tension, fits into a hole in the screen’s frame. When a user pulls down the nose of a spring plunger, it causes the internal spring to compress. It then allows the user to move the nose into the notch. For this purpose, a spring plunger permanently secures an object.
How to Clean Window Screens?

It is essential to clean the screens even if you get the windows cleaned professionally.
Unfortunately, window screens might end up dirtier than the windows themselves. This is because you can see dust, pollen, and debris particles on your window screens.
There is a risk that they will get permanently etched into the glass if you leave it for an extended period of time.
Here are some of the steps to take to clean your window screens:
- Use a solution of one part vinegar to three parts water to clean your window screens.
- Create a paste of baking soda and lemon juice, apply it to the window, and then scrub it with newspaper.
- To protect your screen from scratches, you should first moisten the washcloth.
- Use Windex to clean non-removable screens.
- After cleaning, make sure to give everything a good rinsing.
- The final step is to use soap and water to clean the window sills.
How Often Should I Clean Window Screens?
You should clean your window screen every 2-3 months.
A thorough cleaning every two to three months is advisable for screens. Since it prevents dirt and dust from getting through. This would prevent the screens from becoming overloaded and causing problems inside.
Some homeowners clean their window screens at least three times a year or more often than that. That way, they can maintain their pristine condition for as long as feasible. If you take care of your windows, they will last for many years and continue to look as new as the day you bought them.
Manufacturers advise homeowners to seek help from a professional window cleaner. It will help them to fit the area with the climate.
If you want to keep them looking brand new, you should have them cleaned if you notice any dirt or debris on them. It is especially true if water spots are drying on them.
Is Window Screens Standard Sizes?

The most common sizes for window screens are 18″ x 14″, 18″ x 18″, and 20″ x 20″.
But, depending on the manufacturer, hundreds of standard sizes can be available.
The width of the screens can vary from 36 inches to 72 inches. Expect at least a 6-inch overhang on all sides. If your typical width is 60 inches, then you’ll want to get screen material that’s 72 inches wide.
Keep in mind
Call the manufacturer with the model and number to determine the correct frame depth.
What Is the Strongest Window Screen Material?
Fiberglass screens are the strongest window screen material.
Fiberglass Screens

Get this Fiberglass Window Screens Repair kit on Amazon.
They can bend and stretch without breaking. They are resistant to damage from creases, corrosion, and the elements. Fiberglass screens also provide good ventilation and outward visibility while blocking the sunlight.
Here are a few examples of solid screen meshes:
Aluminum Screens

Get this aluminum screen on Amazon.
These are tough and are less likely to tear than their fiberglass counterparts. They don’t sag or rust and are very sturdy.
Polyester Screens
 Heavy Duty, Pet Dog Cat Resistant Screen Mesh (Black)")
Get this Pet Proof Polyester Window Screen.
Unlike fiberglass screens, polyester ones don’t tear as easily and last longer. Besides being effective solar shades, they are also resistant to rust, heat, and pets.
Stainless Steel screens
In places with a lot of foot activity, screens made of stainless steel will hold up well. They can withstand fire and rust, have amazing ventilation, and offer stunning vistas.
Copper Screens

Get the copper screen on Amazon.
The use of copper screens is highly advisable for both coastal and inland areas. They are long-lasting and sturdy, making them ideal for mosquito screens. These are popular architectural detail, especially in older residences.
Is It Cheaper To Repair Or Replace Window Screens?
Repairing a broken window screen is usually cheaper than replacing it.
This is especially true if the damage is minor and limited to small holes.
Repair
Basic replacement fasteners, hardware, sealants, adhesives, and lubricants are all examples of consumables. These can add up quickly during a repair job. We’re looking at a range of $4-$5.
Equipment like cleaning materials and dusting and scrubbing tools are necessary. The price range is $7-$9.
Overall, it will require a budget between $11 and $14 per screen.
Replace
However, if your screen has rips, holes, or any other significant damage, replacing it is your best bet.
An average of $20-$150 per screen is necessary to replace a movable window screen. It can cost anywhere from $20 to $80 per screen to replace a sliding window screen.
Although this varies widely based on screen size and ease of use. You may expect to pay between $50 and $125 for each retractable window screen.