Self-leveling concrete is a cost-effective, durable option for flooring. It provides homeowners with a long-lasting foundation. This material allows you to maintain control over your concrete structure. Oftentimes, it results in an exceptionally flat surface.
Homeowners use self-leveling concrete for underpinning, pools, driveways, walkways, thresholds, and more. Self-leveling concrete helps reduce foundation costs.
It also creates a higher-quality structure that protects your investment in the future.
Homeowners frequently also use self-leveling compounds in smoothing uneven surfaces. It is compatible with both concrete and plywood floors, as well as wood subfloors. At the same time, it works great on flat roofs, tiles, and the garage floor. Since self-leveling compounds are also mold-resistance, they’re perfect for this application. In addition, it dries very rapidly.
Where Could You Use Self-Leveling Compound?
It’s a common practice to apply self-leveling compounds to smoothen uneven ground. You can typically use it on wooden flooring or a concrete or plywood surface. It is also quite effective on tiled surfaces, flat roofs, and garage floors.
For this purpose, self-leveling chemicals are ideal because they resist mold. It also dries out very quickly.
Can I Use a Self-Leveling Compound On Concrete?
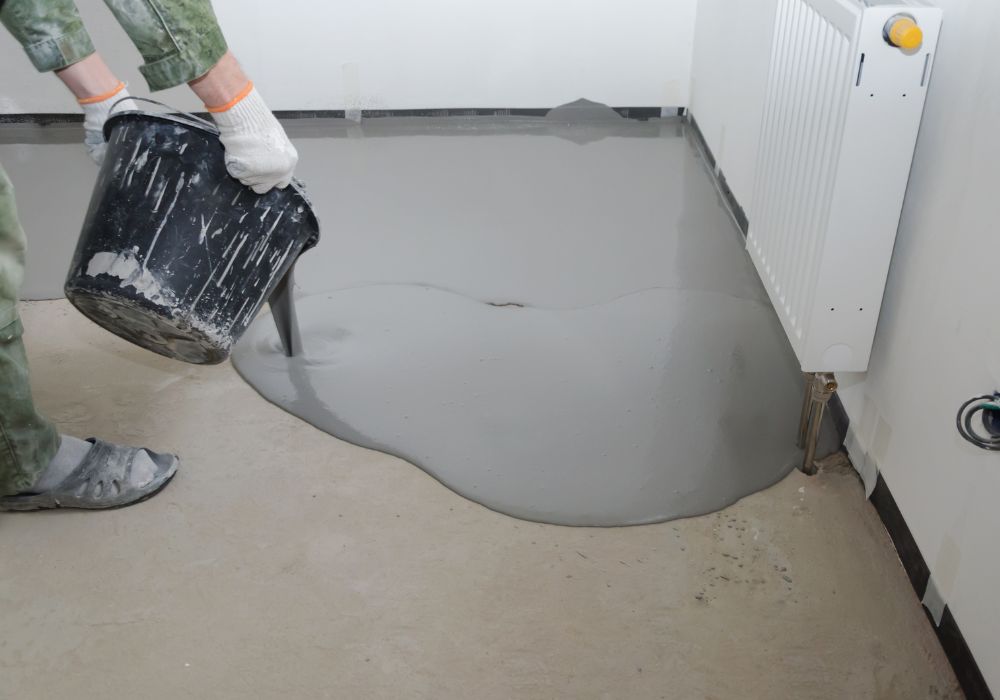
For our first application, you can pour self-leveling overlays over concrete surfaces. This allows you to avoid costly demolition and replacement.
If you do it right, you can make it an overlay. However, the old concrete must be in good shape when using the existing concrete as the base for the new pour.
Necessary Thickness: Add 25 to 100 millimeters of concrete on top of an existing slab.
Bonding Restriction: Choose between a bonding chemical or an unbonded overlay technique. You can use these substances to join the two layers.
Life span: In any case, the state of the present concrete will affect the durability of the new pour. A fresh overlay can have a longer lifespan if the original concrete is in good condition.
You can do this method if the existing layer of concrete is in good shape. Some of the conditions are:
- no breaks
- no buckling
- no significant cracks
Before pouring fresh concrete, make sure you fix any minor fractures. For example, you can use a masonry crack elastomeric filler to fix narrow cracks. At the same time, you can apply vinyl concrete patching compound to repair tiny cracks. Lastly, check that the site is tall enough for the new pour.
Can I Use a Self-Leveling Compound On Plywood?
Similarly, you can also pour and apply self-leveling concrete on plywood.
Some residents use it in small areas, and it works fine. These are some of the methods:
- Screw wood strips into the subfloor at a distance of no more than a foot (less is preferable).
- To cut the strips, laser the smooth surface and select individual points. Ensure it is perpendicular to the intended flooring’s installation direction.
- Next is to thin down to the precise depth determined by the laser at the strip’s location.
- As you go, screw these to the subfloor so they don’t move. The strips being one continuous piece is preferable but optional.
- Using the shims’ upper surfaces as a reference plane. Use the leveling compound to fill the voids.
- Since there will be some shrinkage, you’ll need two treatments.
Occasionally, even plywood sheets won’t fully bridge large sags in floors. So it’s best to cover these places with a self-leveling compound. The compound, when combined with water, flows to low spots and dries level.
Can I Use a Self-Leveling Compound On a Wood Subfloor?
If you have a wooden floor, priming it first is a must before applying self leveler.
When you mix a layer of leveler with water, it will cause the wood flooring to expand. When it dries, it will shrink back down, which could lead to cracks in the Underlayment. Due to the primer, the wood will not soak up any moisture.
Here are some of the steps that you can take:
- Check for floor slopes by placing a level on the surface. If this is the case, you can apply the leveling compound and rake to the desired height.
- Mark off the frameworks of any spots on a level floor using a permanent marker.
- Then you can pinpoint the low ponds and fill them to the appropriate levels.
- Smooth out the rough spots.
- Install a marked wood strip at the edge of a drop. Then seal the caulk around the bottom to prevent water from leaking in.
- Seal any seams or openings with green painter’s tape. You can enclose it preferably 2 inches wide. This is to prevent water from seeping in and causing damage.
Overall, SLC is a faster solution applicable to all types of wood flooring.
Can I Use a Self-Leveling Compound On the Garage Floor?
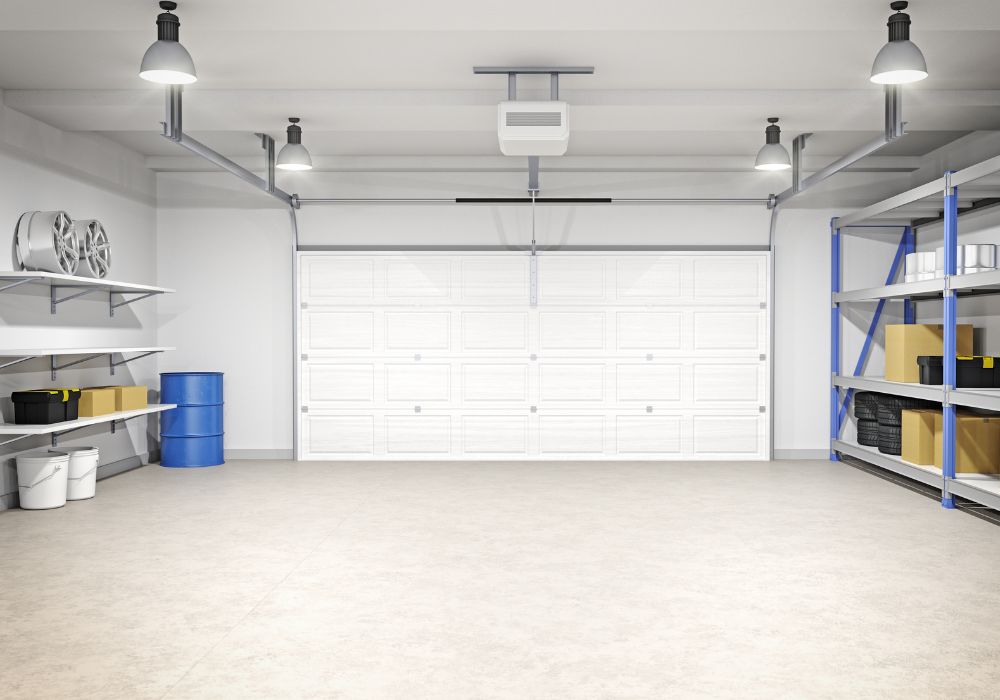
As for our fourth application, garage floors are ideal places to use SLC. But, again, this is because of its resistance to mold.
Methods for leveling an uneven garage floor using cement:
- To begin, sweep and vacuum the entire slab.
- Look for surrounding low spots.
- Use a pointed trowel to press the material into the crack from the top.
- Prime the area.
- Follow the manufacturer’s instructions to combine the leveling cement in a plastic bucket.
- Carefully pour the leveling cement into the hole.
- Then, use 2 x 4 or another long straightedge, and smooth it out to create a level surface.
However, you should still contact a slab jack contractor. It is advisable that they can inject pressurized liquid beneath the concrete. Then, that slab will float back up to level.
Moreover, he will put a stop to the leaks. They would also check for a broken downspout or water pipe. These may be the reasons that could be causing soil from your foundation to wash away.
As you can see, the ideal material for fixing a garage floor is a self-leveling cement mix. You can use patching cement to fill deep holes. At the same time, you can apply regular leveling cement to make the final surface.
Can I Use a Self-Leveling Compound On a Flat Roof?
When repairing a flat roof, the SLC application is an excellent option.
It’ll stop any standing water in its tracks. But you must be careful not to put too much weight on the roof when applying the compound.
In most cases, the weight of the rain will increase with each downpour. Therefore, fixing the drainage is essential if you don’t want this issue to recur.
Multiple factors can lead to the development of low areas on commercial flat roofs. Here are some of them:
- Insulation compression- a roof develops indentations that are perfect for collecting rain.
- Damage to the building’s framework can cause the roof to sag in certain places.
- One such reason could be poor or obstructed drainage. Guttering must be functional on a flat roof for water to drain from the structure correctly.
- Low patches on a flat roof can shift the ground due to freeze/thaw cycles.
Concrete is long-lasting. SLC on roof tiles, on the other hand, has a 50-year lifespan. Therefore, a good underlayment is essential to support any obstruction.
Above all, you can apply SLC to flat roofs instead of reshaping the roof’s entire pitch.
Can I Use a Self-Leveling Compound On Tiles?
In addition to concrete and wood, you can use SLC on top of any non-flexible surface, such as ceramic tile.
As you can see, tiles are inflexible, and you cannot cut them to fit around floor gaps. This causes flaws to become more obvious, such as an uneven tile surface or even tile cracks.
To that end, you can try the following methods using SLC:
- First, remove the trim around the tile. Ensure to make room for the new flooring and the baseboard.
- Look around the room for any damaged or missing tiles. Take out any sagging tiles and clear a path for the compound to fill in.
- Use a tile cleaner and a nylon scrub brush to remove oils or ground-in grime from the tiles.
- Apply a drill to combine the self-leveling compound in a large mixing bucket.
- Spread the compound over the tiles on the floor. Make sure to give the compound time to cure.
As a general rule, priming the floor is a great safety measure that can improve the durability of a tiled floor.
On the other hand, contractors claim that using SLC as a tile adhesive is perfectly fine. However, tiles will adhere better if they are first primed and sealed.
When Should Self-Leveling Concrete Not Be Used?
You cannot use self-leveling concrete on outdoor applications. Thus, self-leveling underlayment is for interior use only.
It crumbles easily in the presence of water after exposing to dampness. So don’t ever add more water to the self-leveling compound to get it to spread easier.
In addition, self-leveling concrete is not an option for any vertical surface. This is because polymer-mixed, self-leveling concrete is more of a slurry than a solid. Therefore, it does not cure well on surfaces that aren’t perfectly horizontal and flat.
You should also avoid using it near locations where strong chemicals are present. At the same time, please do not use it near large machinery.
Instead, look for self-leveling concrete alternatives.
What Should I Put Down Before Self-Leveling Compound?
Installing a self-leveling compound requires the use of a primer first.
Priming improves the surface’s ability to hold an adhesive. As a result, it enhances the material’s durability and further protects it.
Generally, homeowners use a primer before painting or finishing on the following surfaces. These includes:
- Wood
- Concrete and plaster
- PVC
- Ceramic tiles
- Steel or aluminum
Remember that timing & finishing are very important when putting down large industrial floors. This is crucial when laying down large industrial foundations. It should be sufficiently stiff to offer adequate static resistance.

