To fill the gap under a vinyl fence, pour the concrete mix into it and ensure it fills the space evenly.
To achieve a solid and uniform result, utilize a tamping tool to compress the concrete and eliminate any pockets of trapped air.
It’s important to check that the surface level remains even and aligned with the rest of the fence.
Over time, gaps can form beneath vinyl fences due to various factors such as soil erosion, foundation settling, temperature changes, or poor installation.
Fortunately, there are practical solutions to address this issue. Following proper techniques and suitable materials, homeowners can fill the gap under their vinyl fence, ensuring a secure and visually pleasing barrier.
Why Is There a Gap Under My Vinyl Fence?
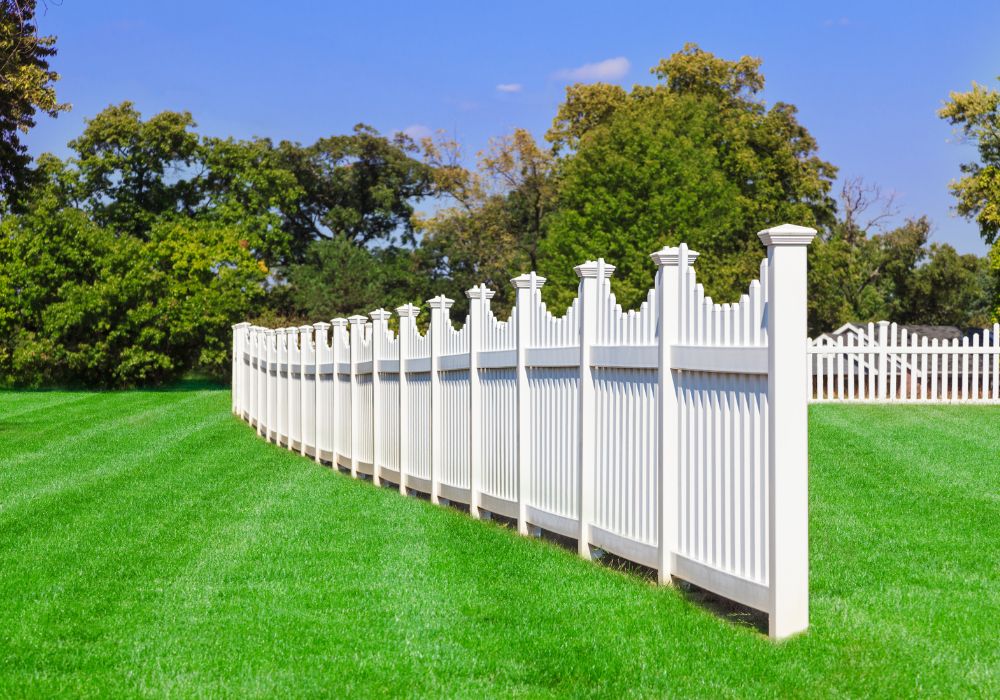
Vinyl fences are renowned for their durability, low maintenance requirements, and appealing aesthetics.
However, homeowners may encounter a common issue over time: the formation of gaps under their vinyl fences.
These are the reasons and factors that contribute to this occurrence:
- Soil Erosion: Soil erosion is one of the primary reasons for gaps under vinyl fences. Natural erosion processes, particularly in areas with heavy rainfall or inadequate drainage, can cause the ground beneath the fence to shift and create gaps. As the soil washes away, it leaves empty spaces beneath the fence, leading to an unsightly and potentially unstable condition.
- Foundation Settling: Another common cause of gaps under vinyl fences is settling the fence’s foundation. Over time, the soil beneath the wall may compact or shift, causing the foundation to sink. This settling creates a space between the bottom rail of the wall and the ground, resulting in a visible gap. Factors such as improper installation techniques, insufficient compaction during the initial fence construction, or changes in soil moisture content can contribute to foundation settling.
- Temperature Changes: Extensive temperature variations make Vinyl fences susceptible to expansion and contraction. When exposed to high temperatures, vinyl can expand; as the temperature drops, it contracts. This continuous thermal expansion and contraction can gradually create gaps between the fence components. Moreover, temperature fluctuations can affect the stability of the soil beneath the fence, exacerbating the gap formation.
- Poor Installation: The quality of the fence installation plays a crucial role in determining its long-term performance. If the vinyl fence was installed using improper techniques or low-quality materials, gaps may develop over time. Inadequate support or insufficient anchoring of the fence posts, improper spacing between the fence sections, or using subpar fasteners can create holes.
- Fence Aging and Wear: Like any other structure, vinyl fences can experience wear and aging over time. Exposure to the elements, including sunlight, wind, rain, and temperature fluctuations, can gradually deteriorate the fence’s components. As the fence ages, its integrity may weaken, and gaps may appear due to material degradation or loosening connections between the sections.
How Can I Fill Gap Under My Vinyl Fence?
The following are several effective methods that you can employ to fill the gap under your vinyl fence, providing you with practical solutions to ensure a secure and visually appealing barrier.
1. Assess the Gap
The first step in filling the gap under your vinyl fence is to assess its size and shape. Measure the length and width of the gap to determine the amount of material needed for the filling process.
This evaluation will guide you in effectively choosing the appropriate method for filling the gap.
2. Use Gravel or Crushed Stone
Gravel or crushed stone is one standard method to fill the gap under a vinyl fence. Start by clearing any debris or vegetation around the gap using a shovel.
Ensure that the area is clean and level before proceeding. Fill the hole with gravel or crushed stone, ensuring it reaches about two inches below the ground level.
This layer will provide a solid base for further filling materials.
3. Apply Concrete Mix
Another practical approach is to use the concrete mix to fill the gap. After placing the gravel or crushed stone, prepare the concrete mix following the manufacturer’s instructions.
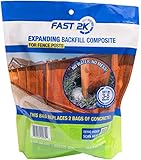
Expanding Foam Concrete Alternative
Ensure that the mixture achieves a workable consistency. Then, pour the concrete mix into the gap, filling the space evenly.
Use a tamping tool to compact the concrete and remove any air pockets.
Check the level to ensure the surface is even and aligned with the rest of the fence.
4. Allow for Curing
Once the concrete has been applied, it is essential to allow it sufficient time to cure. Follow the curing time recommended by the manufacturer, typically ranging from 24 to 48 hours.
During this period, avoid placing any weight or stress on the newly filled area. This patience will ensure that the filling material sets appropriately and provides a stable foundation for your vinyl fence.
5. Consider Vinyl Patch or Sealant
Consider applying a vinyl patch or sealant to protect against moisture and future gaps.
After the concrete has cured, inspect the filled area for any imperfections or potential areas of vulnerability.
If necessary, add more concrete to ensure a smooth and level finish. Apply the vinyl patch or sealant according to the manufacturer’s instructions, creating a seamless and secure bond that enhances the durability of your vinyl fence.
By following these steps and incorporating preventive measures, you can effectively fill the gap under your vinyl fence, ensuring its longevity and functionality.
Regular maintenance and vigilance will help you preserve the integrity and appeal of your fencing investment.
While filling the gap under your vinyl fence is an effective solution, it is equally important to implement preventive measures to avoid gap formation in the future.
While filling the gap under your vinyl fence is an effective solution, it is equally important to implement preventive measures to avoid gap formation in the future.
Should Vinyl Fence Be Flush To the Ground?
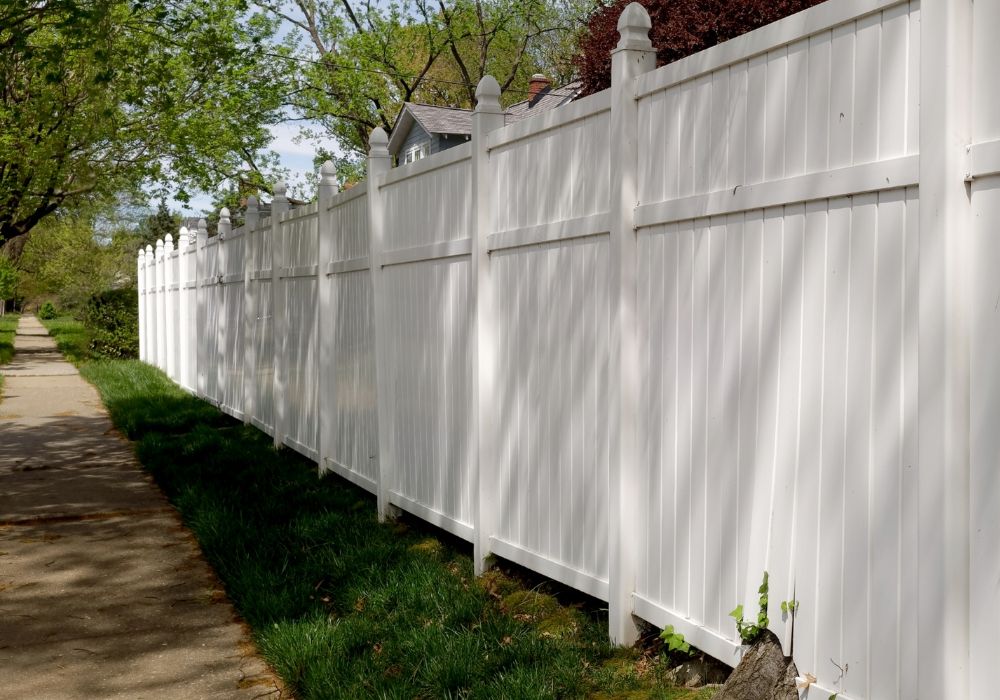
No, a vinyl fence should not be flush to the ground. There should be a gap of about 2-3 inches between the bottom of the fence and the ground.
This gap allows for drainage and prevents water from pooling underneath the wall, which can cause rotting and other damage.
First and foremost, it’s important to note that vinyl fences are designed to withstand various weather conditions and provide privacy and security to your property.
However, they could be more impervious to environmental factors and potential issues that may arise over time. When it comes to the gap between the fence and the ground, there are a few considerations to keep in mind.
A gap between the fence and the ground helps to prevent animals from getting under the fence. If the fence is flush to the ground, dogs, cats, and rodents can quickly burrow underneath and get into your yard.
However, a small gap between the filler material and the ground is essential for drainage.
Here are more reasons why a vinyl fence should not be flush to the ground:
- Ground Stability: The stability and composition of the ground where the fence is installed play a crucial role in determining whether the fence should be flush or have a small gap. Suppose the environment is prone to significant shifts, such as in areas with heavy rainfall or poor drainage. In that case, leave a small gap to accommodate any ground movement. This helps prevent the fence from being affected by soil erosion or settling, which can lead to unevenness or damage.
- Water Drainage: Proper water drainage is vital to maintaining the structural integrity of a vinyl fence. If the fence is installed flush to the ground in an area with poor drainage, it may pool water around the bottom of the fence. This stagnant water can cause damage to the fence over time, such as warping or discoloration. To avoid such issues, it may be beneficial to have a small gap to allow for proper water runoff.
- Vegetation Management: Another aspect to consider is vegetation management around the fence. If the fence is installed flush to the ground, it may obstruct the natural growth of grass, plants, or weeds. This can make maintaining a neat appearance around the fence line challenging. By leaving a small gap, you can easily trim and manage vegetation without causing damage to the fence.
- Pest Control: Gaps between the bottom of the fence and the ground can allow small animals, rodents, or pests to access your property. If you are concerned about wildlife or pest intrusion, flushing the fence to the ground may provide a more secure barrier. However, it’s essential to consider other preventive measures, such as burying a barrier or using deterrents to keep unwanted visitors away.
FAQs
How Do You Keep a Vinyl Fence From Sagging?
Vinyl fences are popular for homeowners because they are durable and low maintenance. However, even vinyl fences can sag over time. The first step to preventing a sagging fence is to install it properly.
Make sure that the posts are set in the ground deep enough and that they are level. The fence panels should also be properly aligned and attached to the posts.
If you have a large or heavy vinyl gate, you may need to use bracing to prevent it from sagging. Bracing can be made from metal or wood.
It should be attached to the gate and the posts to provide support. Even if your fence is installed correctly, it is essential to inspect it regularly for signs of sagging.
If you notice any problems, take steps to correct them immediately. Vinyl fences are relatively low maintenance, but they still need to be maintained.
This includes cleaning the fence regularly and repairing any damage as soon as possible.
When purchasing materials for your vinyl fence, use high-quality materials. This will help to ensure that your wall is solid and durable.
When attaching the fence panels to the posts, do not over-tighten the screws.
This can put stress on the fence and cause it to sag. Apply a weather-resistant sealant to your vinyl fence to help protect it from the elements.
This will help prevent the fence from cracking or warping, leading to sagging.
Can Vinyl Fence Crack?
Vinyl fences are known for their durability and resistance to cracking, especially when compared to other materials like wood or certain types of plastics.
However, it is still possible for a vinyl fence to crack under certain circumstances. Extreme temperature fluctuations, impact from heavy objects, or accidents can cause vinyl material cracks.
Regular maintenance, avoiding excessive force, and addressing any damage promptly can help minimize the risk of cracking.
How Long Will Vinyl Fence Last?
Vinyl fences are designed to be long-lasting and provide years of service. On average, a well-maintained vinyl fence lasts 20 to 30 years or even longer.
The actual lifespan of a vinyl fence depends on various factors, such as the quality of the materials used, proper installation, exposure to weather conditions, and maintenance practices.
Regular cleaning, avoiding harsh chemicals, and inspecting the fence for any signs of damage can help extend its lifespan.

