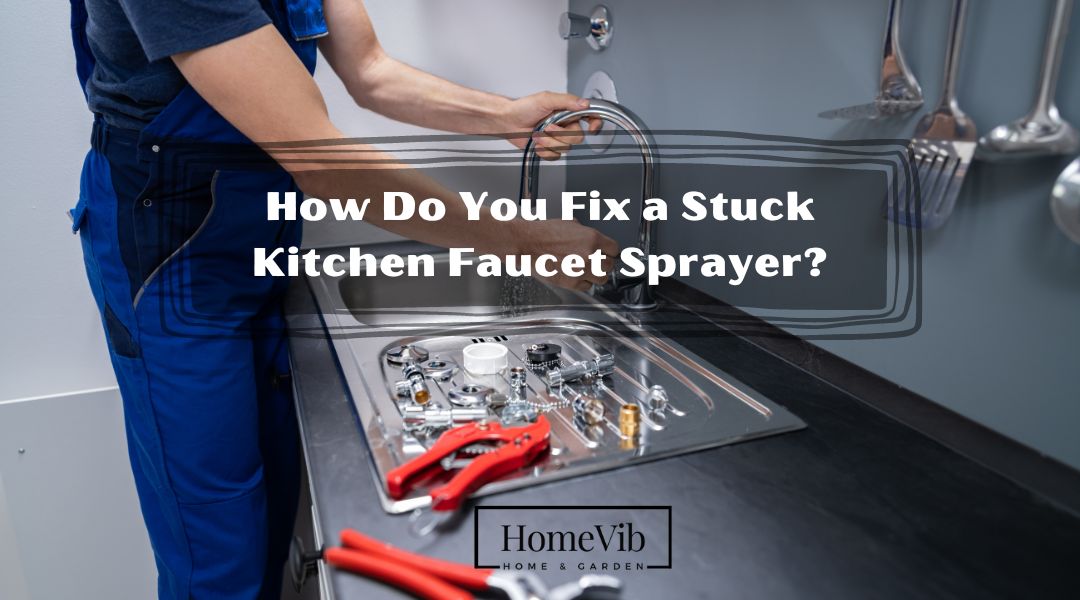
A kitchen faucet sprayer may be your most used and loved appliance. It’s important to keep it in good condition. However, if the sprayer isn’t working, it can be frustrating.
Kitchen faucet sprayers have levers that allow you to adjust the stream. This can mean that pulling the handle back doesn’t immediately turn off the water.
If you have a kitchen faucet that has stopped spraying, it isn’t very pleasant. Luckily, there are several ways to fix this issue. Below we’ll discuss the most common ways to fix a stuck valve and some helpful tips.
If the sprayer on your kitchen faucet is stuck, you can release it by turning off the water supply under the sink. Once you get the nozzle hose extended far enough, you can grab the handle. Take care when removing the nozzle’s handle, so you don’t break the nozzle. Next is to check the valve to check if anything is blocking it.
Attempt a test run if you don’t see any water coming out. As your last option, buy a replacement valve if the current one does not work.
Why Is Kitchen Faucet Sprayer Not Switching?

Your kitchen faucet sprayer is not switching if sediments are blocking it. In this case, you should check the faucet aerator.
There may be other factors at work; here’s a list you should look for:
- The faucet is probably old and plugged
- The interior switch valve has a broken faucet
- Time for replacement
- Faulty aerator
- Clog in the water line
In most cases, an automated valve is built into the faucet assembly. This is the one that regulates the spray setting. Your only option will be spray mode if the valve becomes stuck.
It’s either time to replace the valve or clean it. Remember that it will be difficult to access the valve under the sink. If your faucet shows signs of wear, it may be time to replace the whole unit.
One possible cause is the aerator. Otherwise, check the supply valves. Turn off the main water supply to the building. Then replace the supply valves under each sink. Perhaps the lines lead from each valve to the faucet as well.
But if that doesn’t work, it’s probably a clog in the water line, a major hassle. Find the source with the help of a plumber.
Steps To Fix a Kitchen Sink Sprayer Stuck On Spray Mode
A kitchen sink sprayer is a handy attachment that you can attach to the side of your kitchen faucet.
You can clean different items with your kitchen faucet with the help of this handy accessory.
As you can see, installing a sprayer on your sink’s faucet is a simple method to save time. It offers convenience and less effort while washing dishes.
Unfortunately, kitchen sink sprayers are usually unreliable. Some issues arise when the spray mode of the faucet is permanently stuck. Here are some of the steps to follow to fix a defective kitchen spray.
Step 1. Turn Off the Water Sink
Turn off the hot and cold water valves under the sink.
Find the water supply pipe that runs through your home’s interior wall. Make sure it links to the exterior faucet.
This is often situated in your basement. Afterward, you should have located a valve there. Please put it on standby or turn it off.
Next is to shut off the water supply to the sink by turning off the valve. Some sinks have a dual valve, so you must turn off the water supply to depressurize the sink.
If you do this, you will shut off the water supply to the entire dwelling.
Step 2. Take the Spray Handle Off
To reach the control knob, you’ll need to extend the line connecting the nozzle.
Be careful not to damage the nozzle when you remove the handle. Then you can locate the plunger valve within.
The spray head’s gasket assembly is easily lost if you unscrew it and the head falls into the sink.
As soon as you remove the spray head, the gasket assembly will likely fall out; thus, you should be able to catch it.
Try applying penetrating oil to make the spray button easier to slide in and out. Then try to press the trigger multiple times.
Step 3. Test and Clean the Valve
Determine what is blocking the valve by testing it.
Use the knife’s edge to draw the plunger into the closed position.
You can remove the spray head and access the screen close to the aerator with a wrench.
You can also soak the valve in vinegar. Then disassemble the nozzle and inspect it.
At this time, you can find a bunch of deposits on the displays. There can also be pieces of material. Clean and wash all the sediments.
Next is to take apart the spout aerator to inspect and clean it if necessary. Remove the cartridges and repair the inlet strainers.
Step 4. Unscrew The Spring
Unscrewing the spring is the next step. Once you do so, the spring should easily release.
You can expect to find a cartridge inside that acts as the valve.
Pull the spring apart by a quarter inch to make it longer and stronger.
You’ll find various minor parts, including springs and “O” rings. At the same time, you can find plastic valve seats, a valve stem, and more in that cartridge.
Sooner or later, you’ll have to repair these components because of normal wear and tear.
It’s simplest to remove the valve handle, unscrew the cartridge cap, and pull it out.
Step 5. Replace The Kitchen Sprayer Unit
If the valve fails to function, you can buy a replacement.
Get a new one from the hardware shop, put it in position, and tighten the fixed lid.
Next is to remove the required parts and look for suitable alternatives for the worn-out parts.
Generally, unless it’s a very expensive model, you should remove the old faucet and install a new one.
This should be a quick job, assuming you can disengage the kitchen spray.
They are more practical because they are less expensive and easier to use. Thus, investing in a reputable brand will provide satisfactory results.
How Do You Reset an Automatic Kitchen Faucet?
Turning off the water to an automated sink faucet is the first step in resetting it. To reset, remove power from the control box.
You can unplug the power cord and battery when you’ve located the control unit. Before re-establishing the connection, give it a minute to reset.
Drained Batteries
If your touchless sink faucet suddenly stops, inspect the battery compartment. Replace batteries as necessary.
Replace The Sensor
Changing out the sensor should resolve the problem. Assuming the sensor is working properly, the batteries should last for years. You’ll need to take apart the sink to replace the sensor.
Inspect the Solenoid Valve
Before deciding that the solenoid valve or sensors are at fault, try the simple checklist. Then clean the solenoid valve’s internal components. Replace the coil in the solenoid valve if it is not opening and shutting properly.